INTRODUCTION
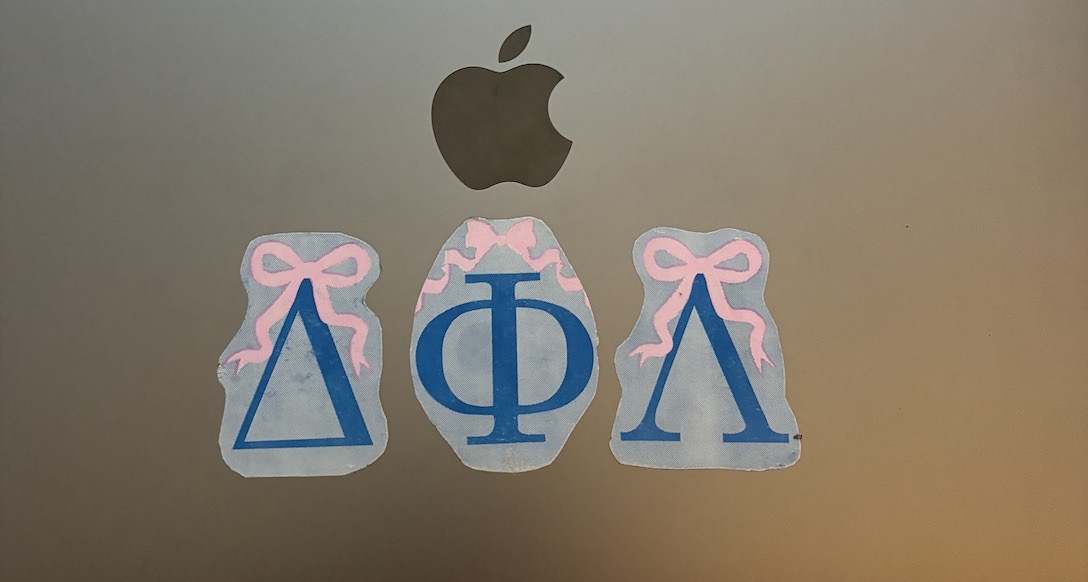
This project aims to design and produce a row of 2 tone flexography stickers, using the flexography process.
CONCEPT
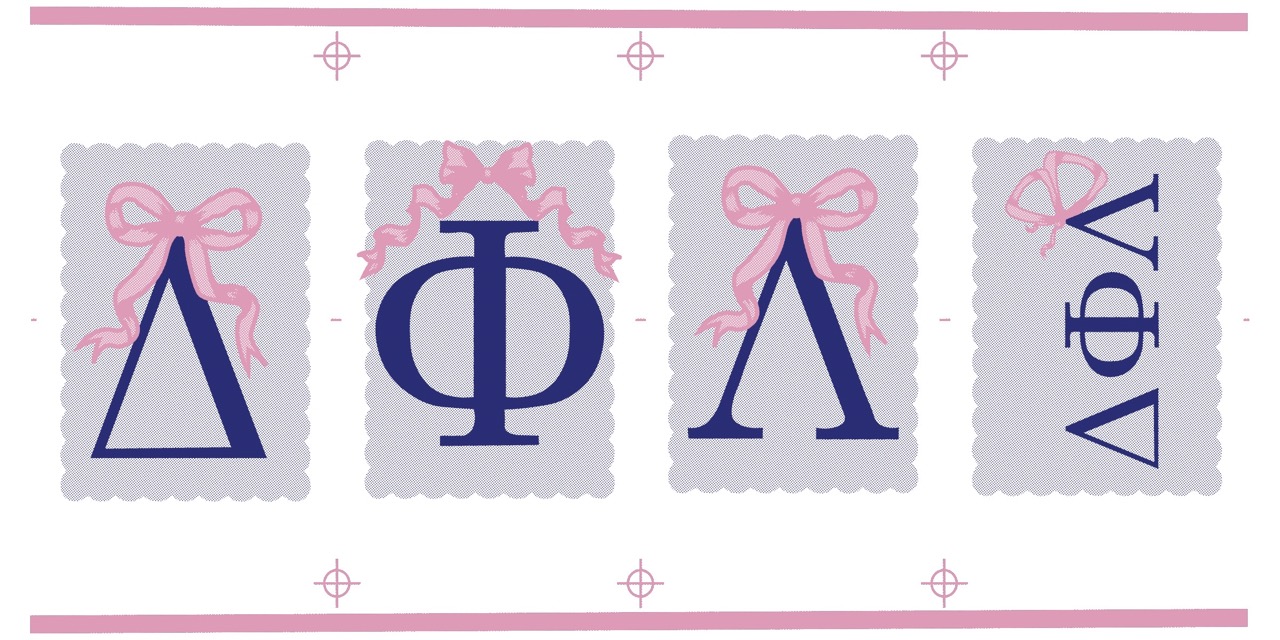
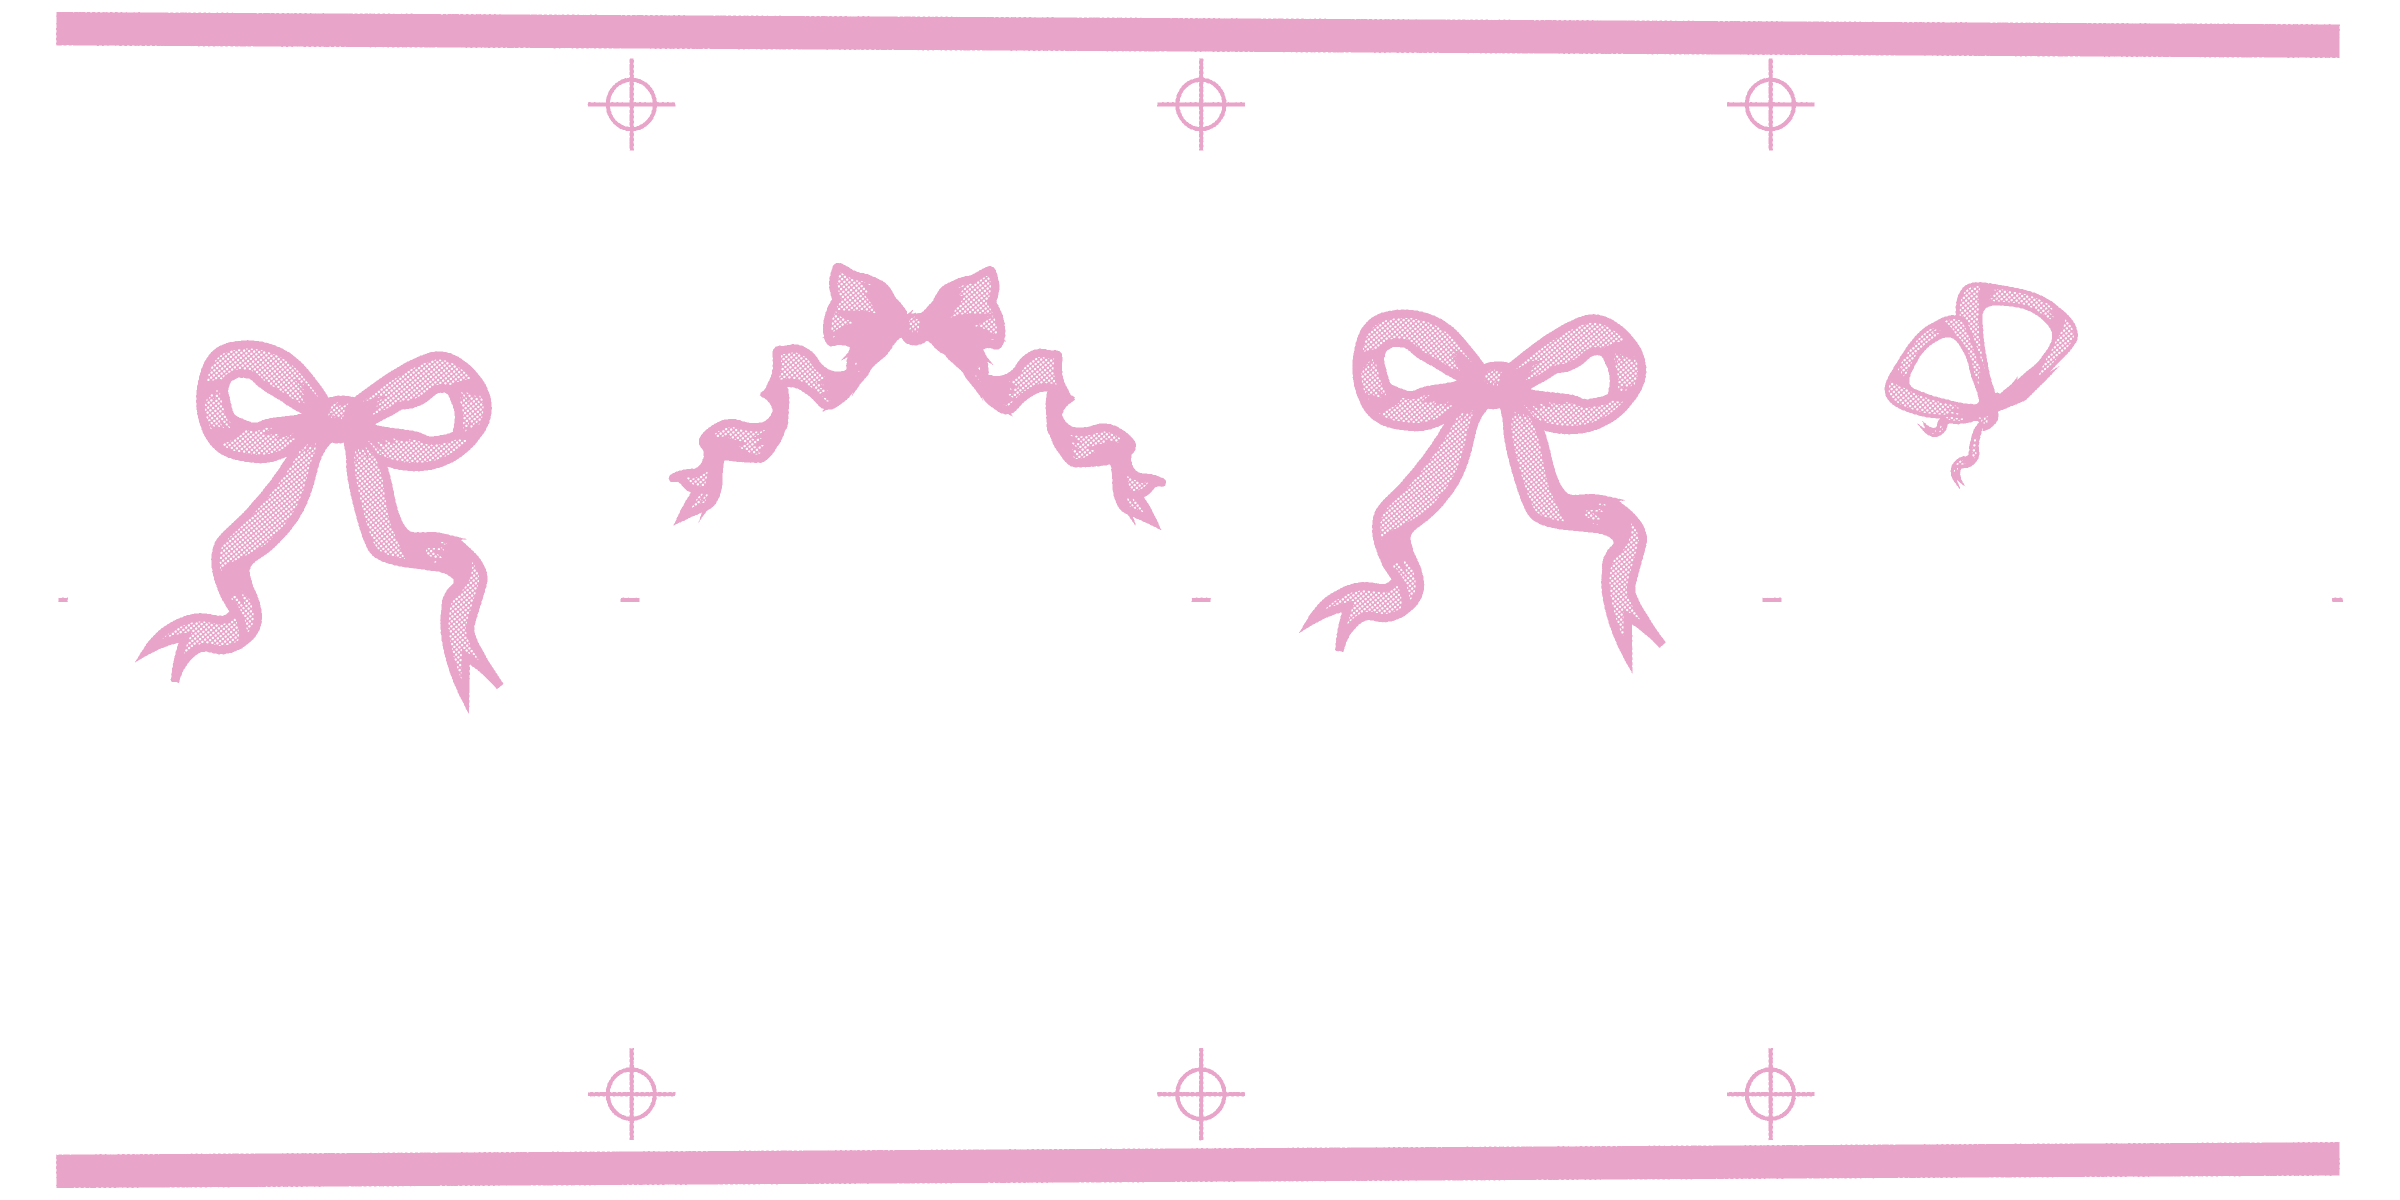
When assigned this project, I considered the quantity of runs and the requests from my sorority members for stickers. I decided to design a sticker for my sisters, since I would produce many runs. My concept included the greek letters for my sorority in blue, bows, and butterflies. The color selection was dictated by my sorority guidelines, since our letters may only be written in certain colors. Bows were very popular at the time especially among the sorority members, so I styled the letters with them. I tied the butterfly- our national animal- into the design by drawing it out of ribbons.
PROCESS
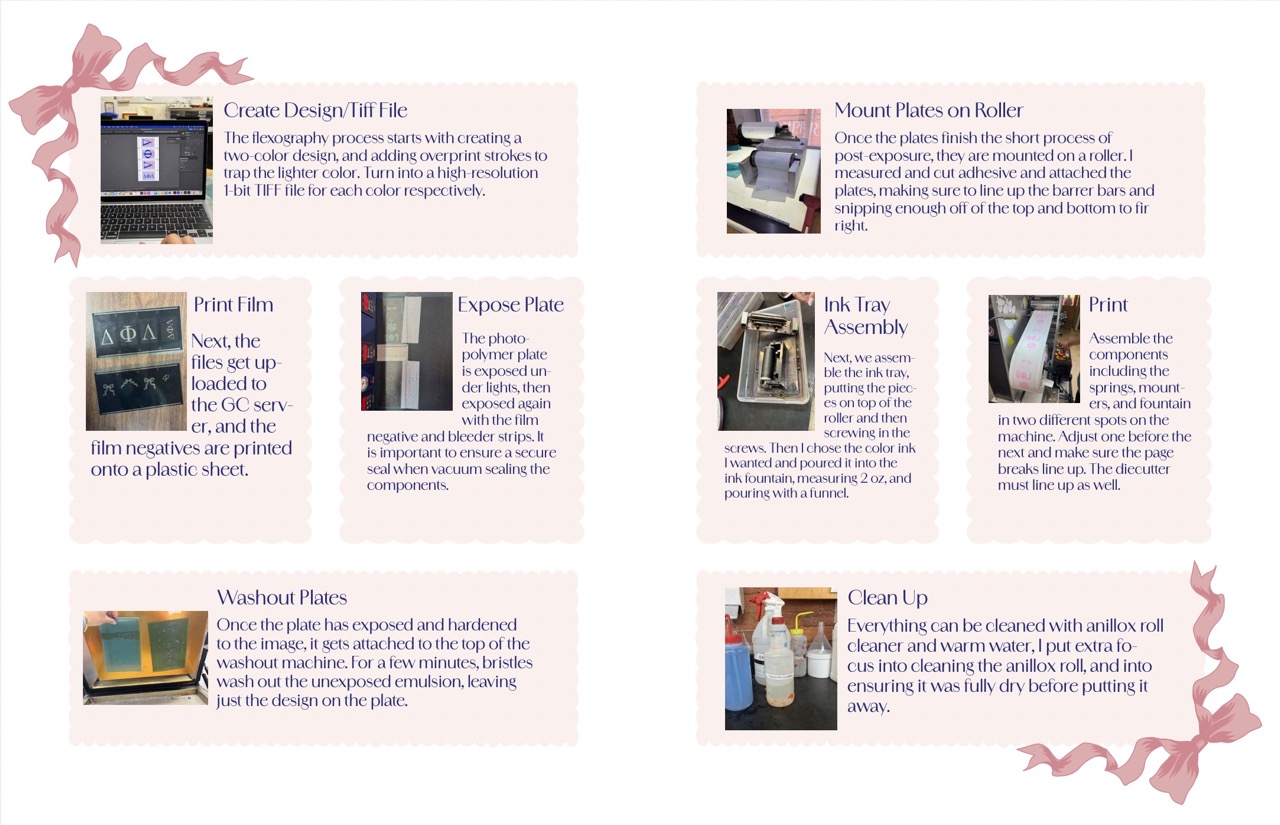
Once I had my design vision in mind, I created it in Adobe Illustrator. I created a dieline that was compatible with our press, and inserted my artwork. I distorted the file so the design would come out accurately. I created a proof of the dieline and exposed it onto emulsion to create a plate. I mounted the plate and set up the printer to begin production. The biggest challenge was registering the die cutter to the dieline. I learned about the flexography process, the importance of distortion, and how to register designs on a flexography printer. This knowledge has aided me in later flexography production.
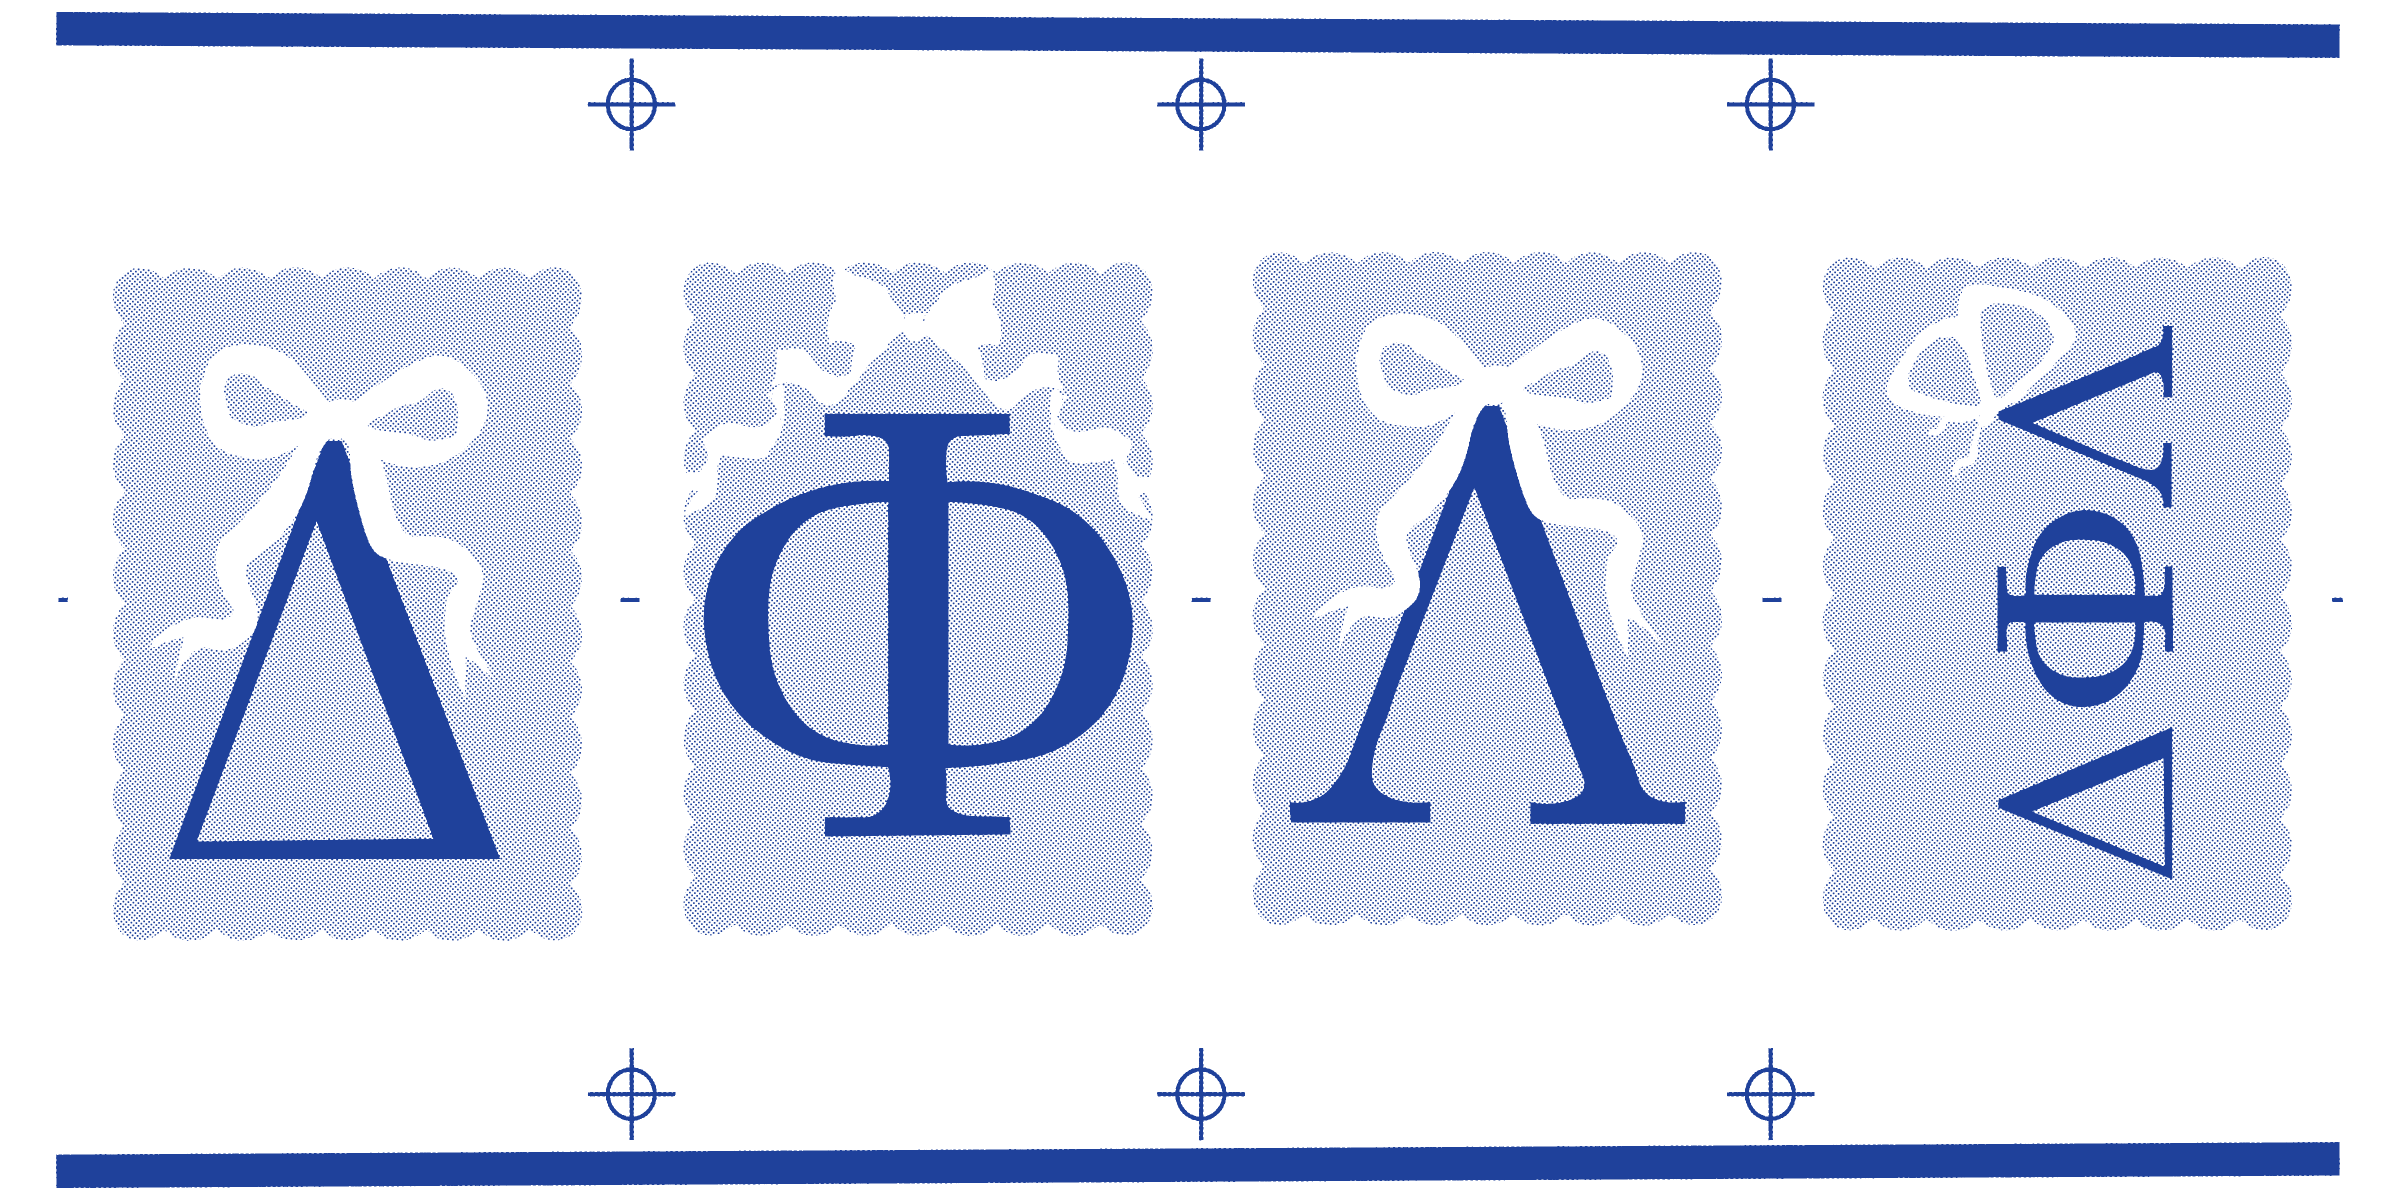
FINAL PROJECT